2. Prepare Your Control Node
Now you install things. This lesson gets the collection onto your machine, explains the one installation choice that actually matters, and teaches you the command you will use more than any other: make help.
Note
Estimated time: 15 minutes. Builds on 1. Fabric-X in 10 Minutes.
What You Will Learn
- The difference between the control node and the target nodes.
- Which of the three installation options to pick, and why it matters.
- The one command that will overwrite your checkout if you run it in the wrong place.
- Why macOS needs
LOCAL_ANSIBLE_HOST. - How to discover every command this repository offers.
What a Control Node Is
Ansible has two sides:
- The control node is the machine you type commands on. It runs
ansible-playbook, holds the inventory, generates configuration files, and builds artifacts such as the genesis block. - The target nodes are the machines the services actually run on.
For the whole first half of this tutorial these are the same machine. The local sample inventories use ansible_connection: local, so Ansible talks to your own machine and starts the Fabric-X services as containers right there. You only need to think about the distinction again in lesson 10.
Install the Prerequisites
On your control node you need:
python>= 3.11dockerorpodmangitandmakego— only if you plan to run the binary-based inventory from lesson 8. The collection'sgorole can install a pinned version for you.kubectl— only if you plan to run the Kubernetes inventories from lesson 10
Make sure your container engine is actually running (docker info or podman info should succeed) before you continue.
Choose How to Install the Collection
There are three ways to install hyperledger.fabricx. They are not equivalent, and the choice affects the rest of this tutorial.
Option 1: Clone into the collections path
This is the option to pick for this tutorial.
git clone https://github.com/LF-Decentralized-Trust-labs/fabric-x-ansible-collection.git \
  ~/.ansible/collections/ansible_collections/hyperledger/fabricx
cd ~/.ansible/collections/ansible_collections/hyperledger/fabricx
The checkout is the installed collection. You get the Makefile, the sample inventories, and the example playbooks, and any change you make to a role takes effect immediately with no reinstall.
Option 2: Install from source
git clone https://github.com/LF-Decentralized-Trust-labs/fabric-x-ansible-collection.git
cd fabric-x-ansible-collection
make install
Builds the collection and installs it into your Ansible collections path. Use this when you do not intend to modify the roles.
Option 3: Install from Ansible Galaxy
ansible-galaxy collection install hyperledger.fabricx
ansible-galaxy collection install -r \
  ~/.ansible/collections/ansible_collections/hyperledger/fabricx/requirements.yml
The published release, for using the collection inside your own Ansible project. This tutorial assumes you have the repository checkout, so prefer option 1 or 2 while you are learning.
Every command from here on assumes you are inside the repository checkout.
Warning
If you used option 1, never run make install. Your checkout is already the live collection, and make install would overwrite it with a built artifact. The Makefile guards against this and aborts with a message, but it is worth knowing why. Use make install-deps instead.
Install the Dependencies
From the repository root:
That single target is a wrapper around three steps, and it is useful to know what they are:
| Step | What it does |
|---|---|
install-venv |
Creates a Python virtual environment in .venv/ |
install-python-deps |
Installs requirements.txt into that venv — Ansible itself, plus the MkDocs toolchain |
install-ansible-deps |
Installs the Ansible collections listed in requirements.yml |
Because the dependencies live in .venv/, nothing is installed system-wide. The Makefile automatically uses .venv/bin/ansible-playbook and friends.
Tip
If you would rather use a system-wide Ansible installation, every target accepts USE_VENV=false, for example make USE_VENV=false start.
macOS: One Extra Step
Docker and Podman run Linux containers inside a virtual machine on macOS. That means localhost inside a container is not the same endpoint as localhost on your Mac — and the local inventories generate configuration full of addresses that containers must be able to resolve.
Set LOCAL_ANSIBLE_HOST so the generated configuration points at an address containers can reach:
# add this to ~/.zshrc, ~/.bashrc, or whatever your shell sources
export LOCAL_ANSIBLE_HOST="host.docker.internal"
If you also run the binary-based inventory, the processes on your Mac need to resolve the same name, so add it to /etc/hosts too:
Linux users can skip this entirely: the default localhost works.
Meet make help
Every high-level command in this repository is a Makefile target, and every target documents itself:
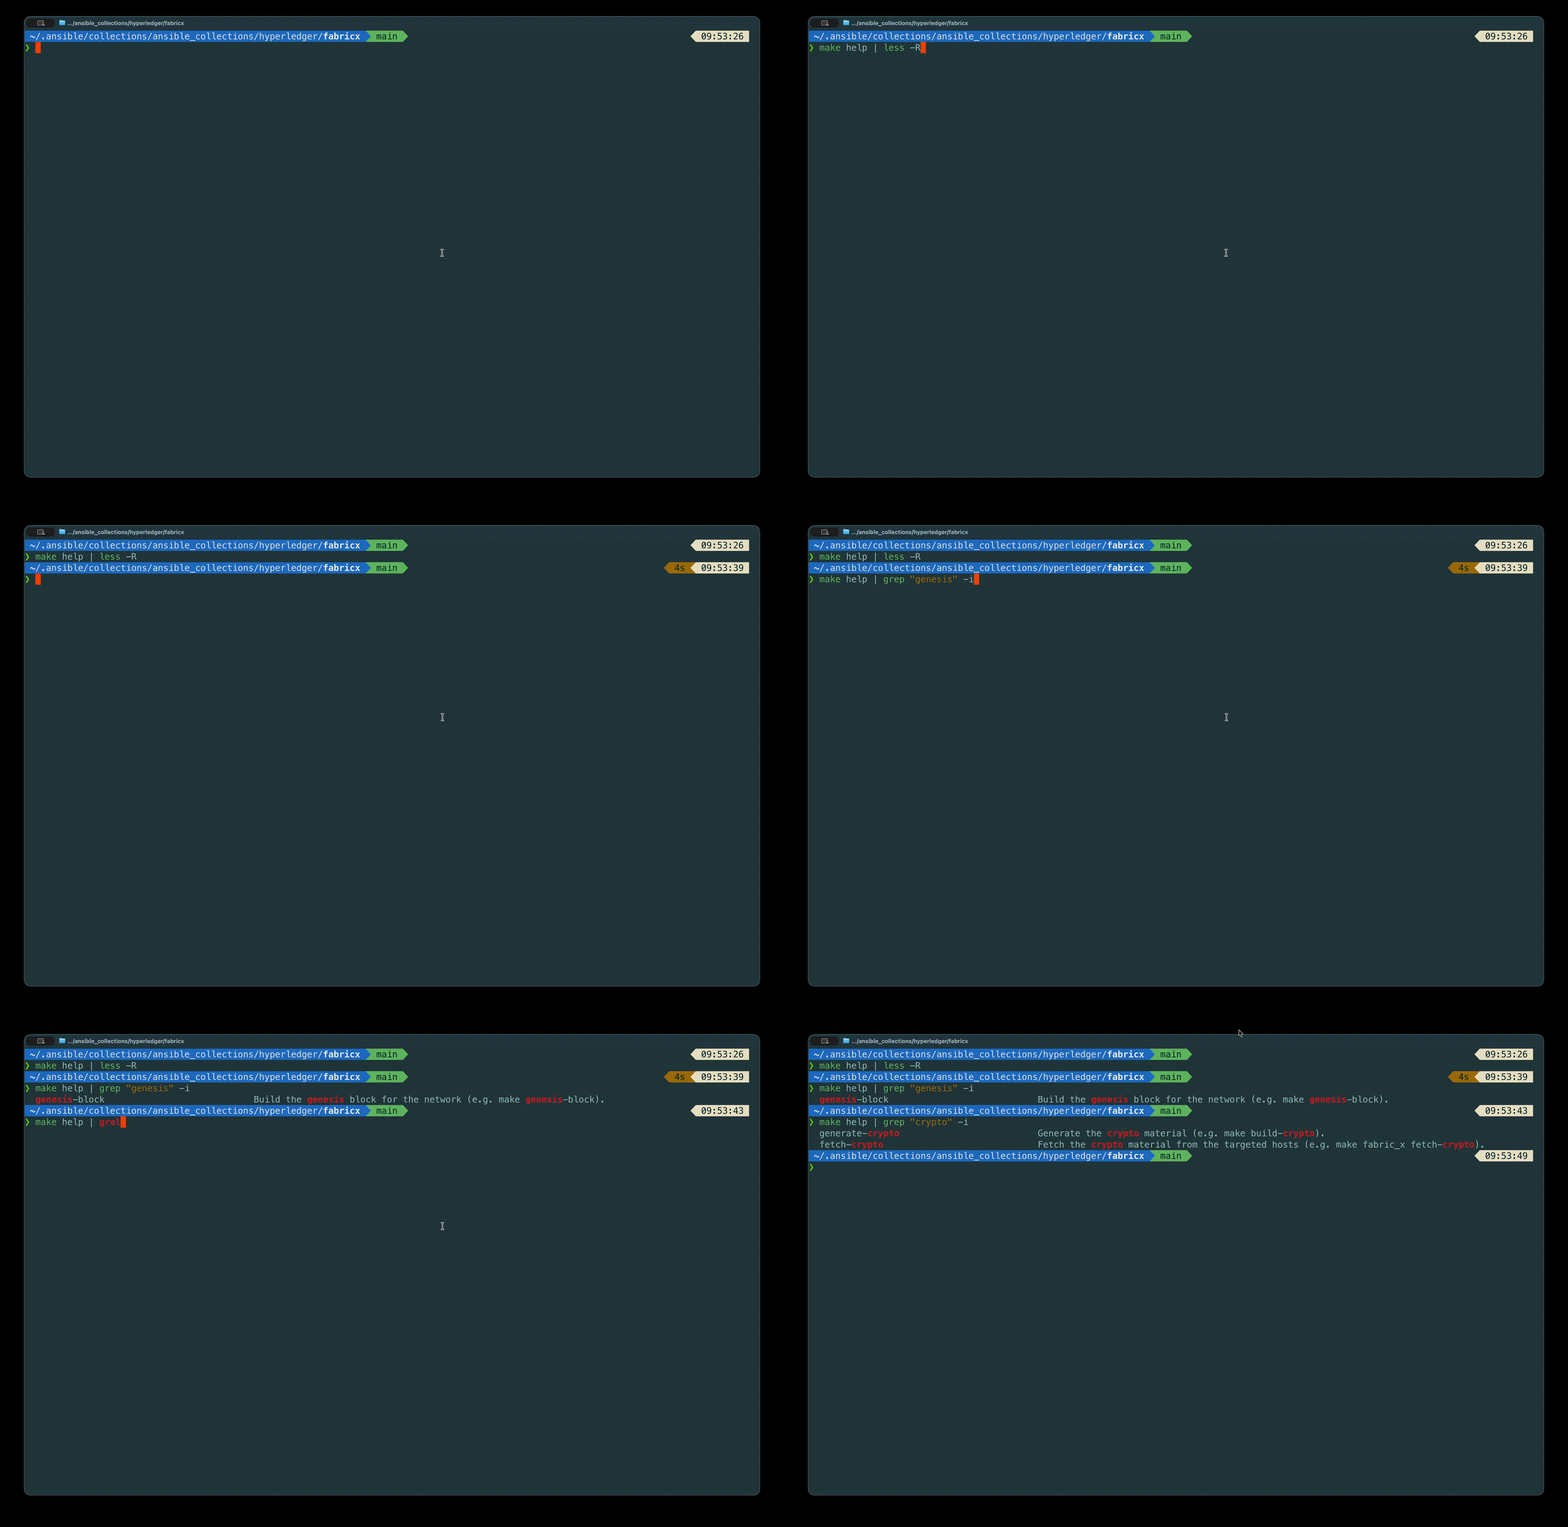
You get a two-column list: the target name and a one-line description. This is the map. When you forget whether the command is make artifacts or make generate-artifacts, this is where you look — not the documentation.
The targets fall into four families, and you will meet all four:
| Family | Examples | Lesson |
|---|---|---|
| Install and check | install-deps, lint, check-license-header |
this lesson |
| Setup | setup, binaries, artifacts, generate-crypto, genesis-block, configs |
3 |
| Lifecycle | start, init, stop, restart, teardown, wipe |
3, 6 |
| Utilities | ping, get-metrics, fetch-logs, limit-rate, targets, run-command |
4, 6 |
Verify your setup works by asking Ansible to parse a sample inventory:
ANSIBLE_CONFIG=examples/ansible.cfg \
  .venv/bin/ansible-inventory --list --output /dev/null && echo "inventory OK"
That parses the sample inventory without deploying anything. If it succeeds, you are ready.
Warning
The ANSIBLE_CONFIG= prefix is not optional. The Makefile exports it for you, but when you run ansible-inventory, ansible, or ansible-playbook by hand from the repository root, Ansible finds no config file and no inventory. The symptom is a misleading success: [WARNING]: No inventory was parsed, only implicit localhost is available, followed by an almost-empty graph.
From the next lesson onwards you will export ANSIBLE_INVENTORY instead, which serves the same purpose for these commands. Either variable works; having neither is what bites.
Which inventory that command parsed comes from the inventory = line in examples/ansible.cfg. That line changes over time as the samples evolve, so the next lesson sets the inventory explicitly rather than relying on the default, and lesson 8 shows how to switch between them.
Exercise
Tip
Without reading the Makefile source, use make help to answer:
- Which target builds the genesis block for the network?
- Which target sets the transactions-per-second rate on the load generators, and which variable does it take?
- Which target would you use to install prerequisites on remote machines rather than your own?
Solution
make genesis-block— "Build the genesis block for the network".make limit-rate, which takesLIMIT, for examplemake limit-rate LIMIT=1000. You will use this in lesson 4.make install-remote-node-deps— it runs theinstall_prerequisitesplaybook over SSH against the hosts in your inventory. You do not need it for local inventories, but you will in lesson 10.
Note that make genesis-block is one half of make artifacts, which is itself one third of make setup. The Makefile is layered like that throughout, which is what makes the next lesson short.
Next
| Previous | Next |
|---|---|
| 1. Fabric-X in 10 Minutes | 3. Run Your First Network |